
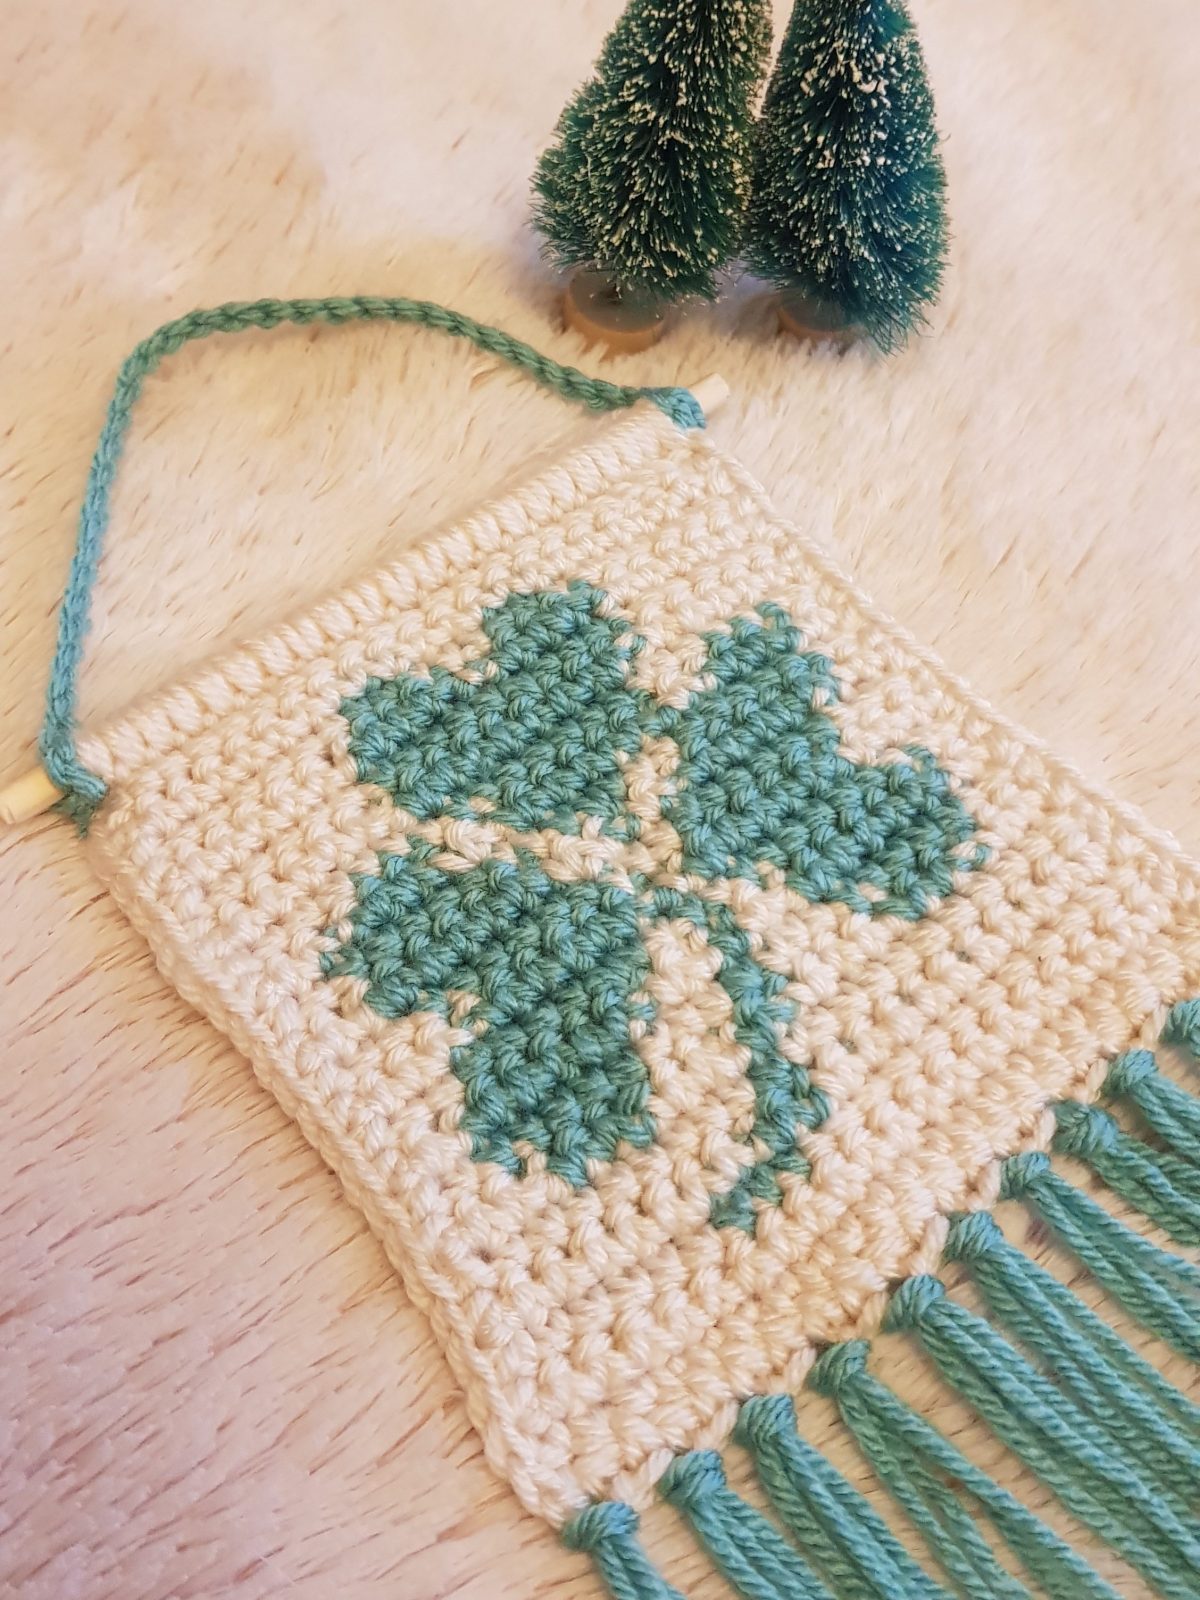
Hey everyone! In this crochet tutorial, I’ll be showing you how to create a festive shamrock wall hanging in time for St. Patrick’s Day. This design is perfect for adding a touch of Irish cheer to your home decor.
I’ll be walking you through each step of the process, from choosing your yarn and hook to crocheting the individual shamrock shapes and assembling the wall hanging. Whether you’re an experienced crocheter or just learning the ropes, I hope this tutorial will be helpful and enjoyable for you.
You can find a free PDF pattern for the shamrock wall hanging on Ravelry along with other patterns you may like: Ravelry Pattern
Alternatively, there is a full video tutorial available on my YouTube channel. I hope you have fun creating your own shamrock wall hanging!
MATERIALS
Hook: 3.25mm. This project is versatile you can use an hook size you would like, just note that this might change the size of the finished piece.
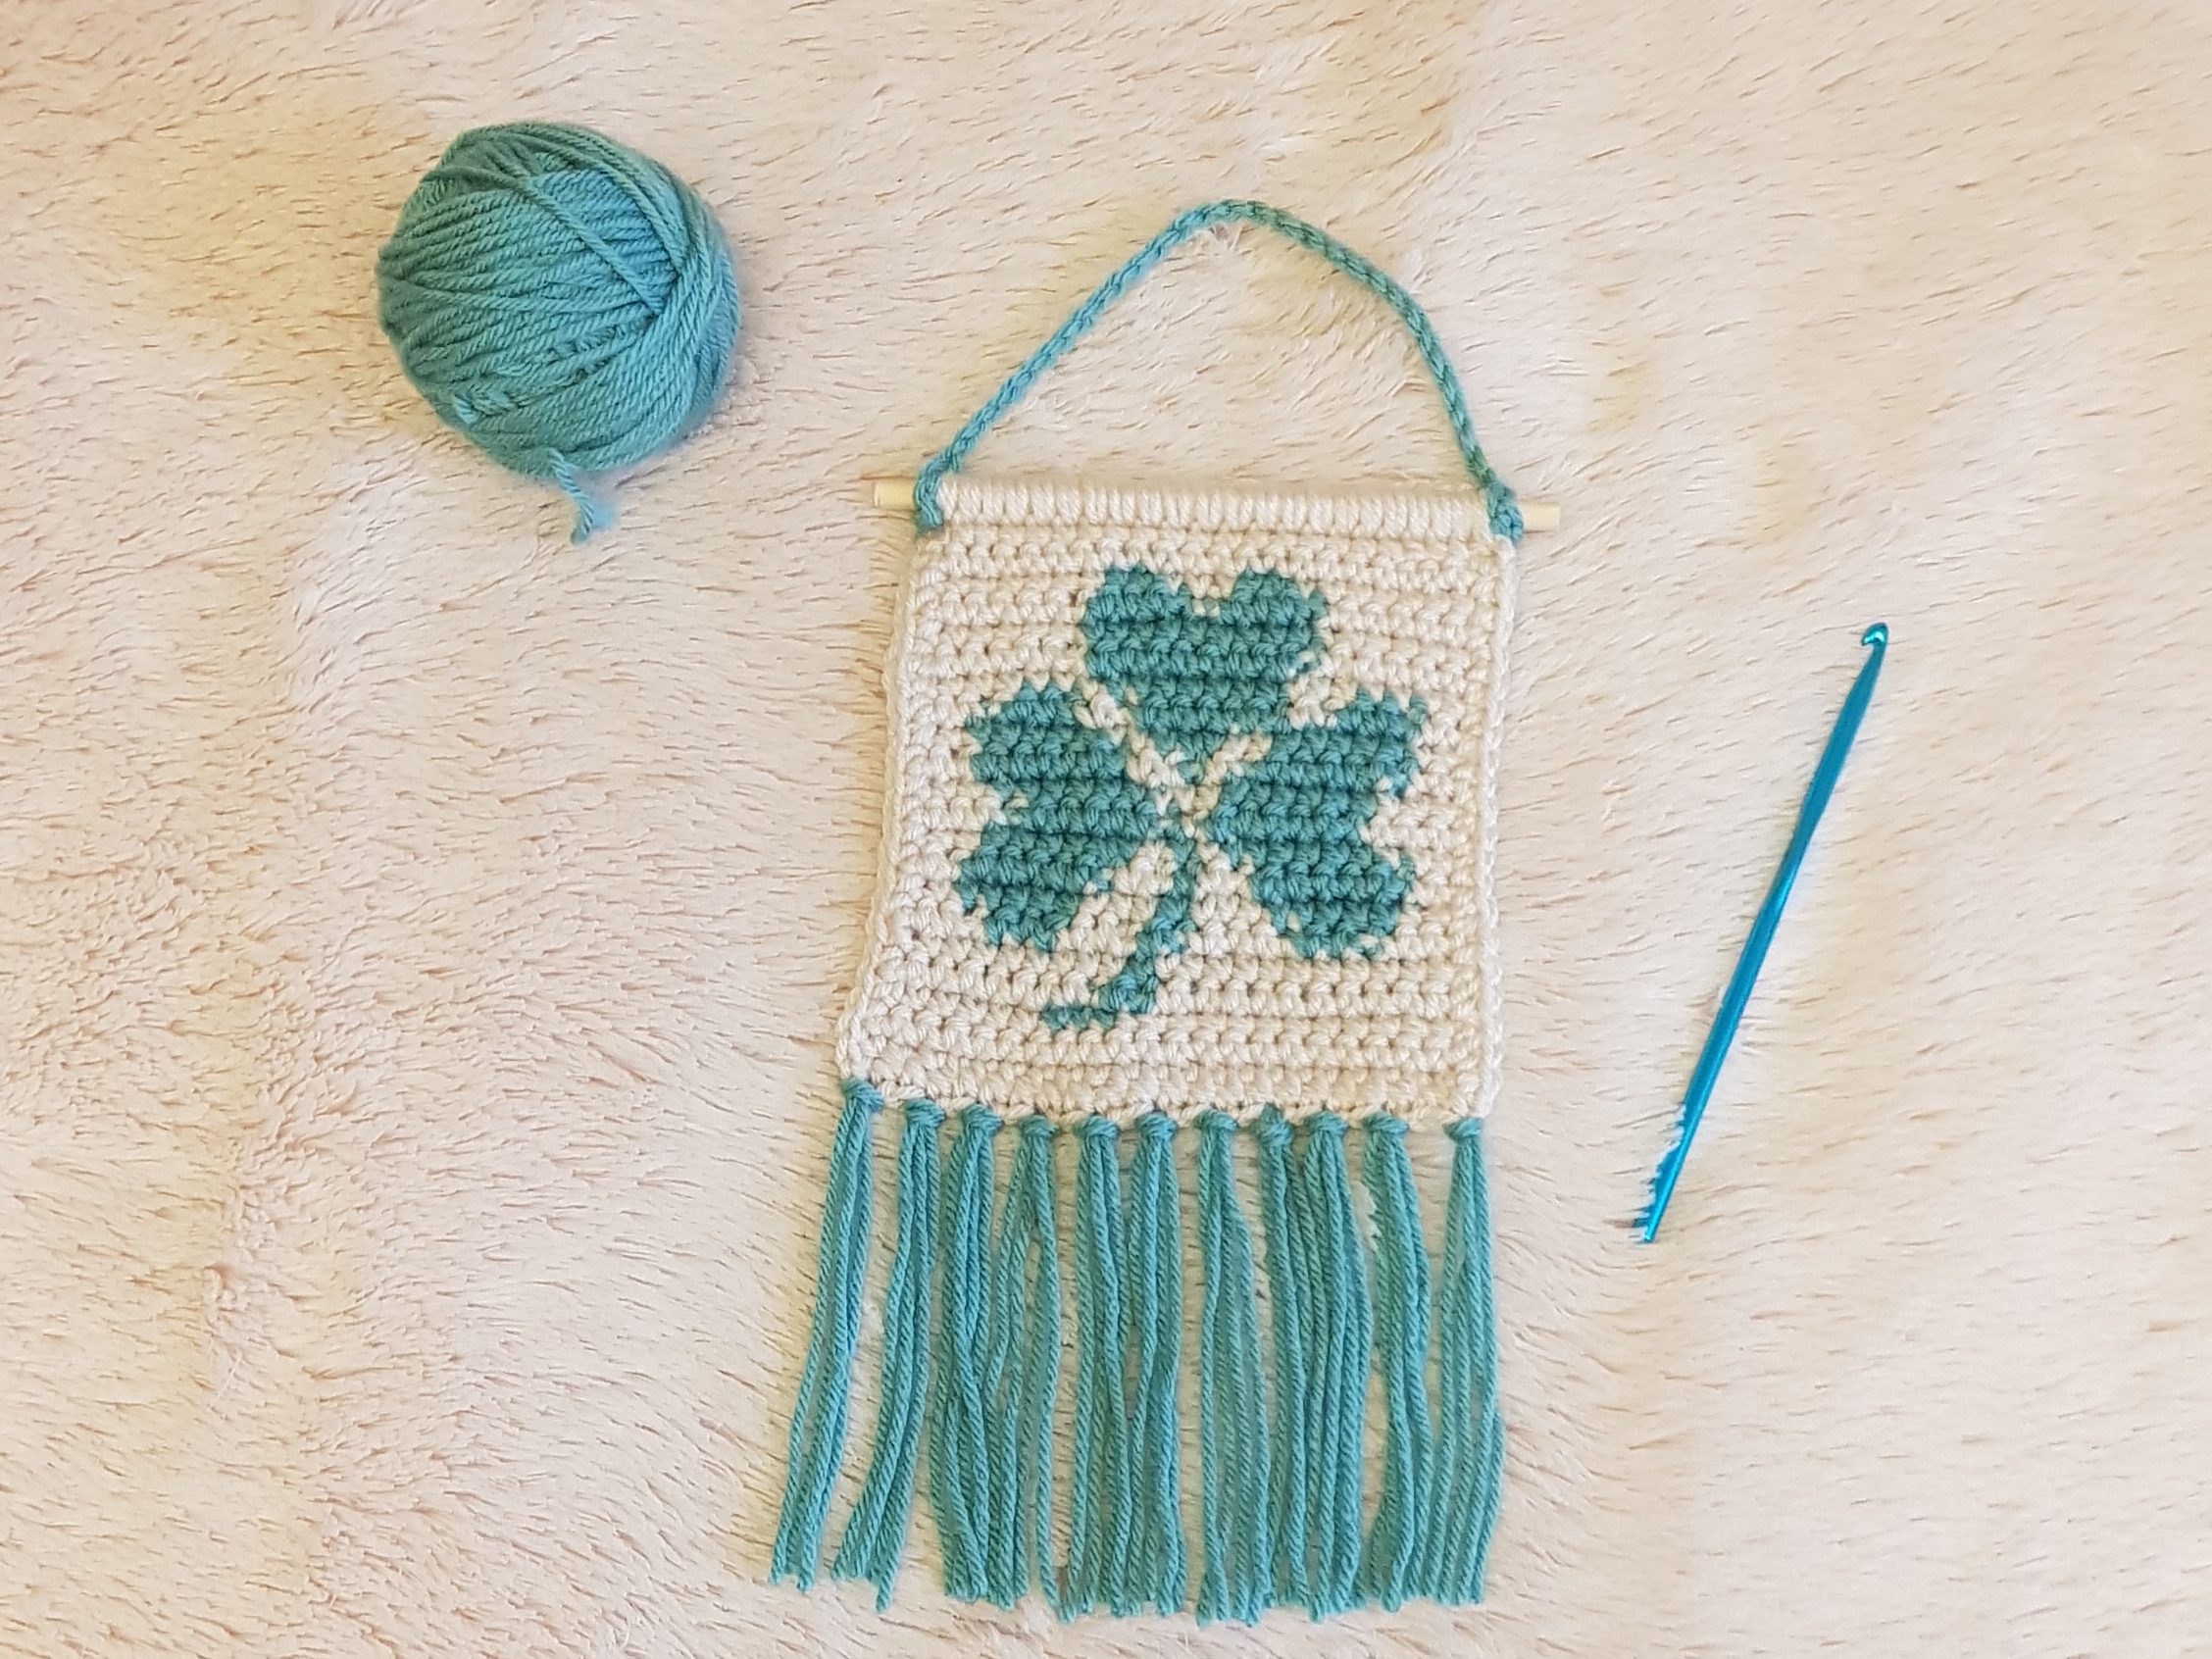
Yarn: This pattern will work well with DK or Aran weight yarn. Yarn used to complete the wall hanging in the picture is Women’s Institute Aran Yarn (660m (722yds) per 400g skein; 100% Acrylic).
A: WI Cream
B: WI Teal
Misc:
Dowel rod/stick for hanging 6.5inch. A creative alternative to this might be a pencil or bamboo stick. I got a pack of these from Amazon.
Yarn needle.
FINISHED MEASUREMENTS
Width: 5.5 inches
Height: 9.5 inches (including tassels)
ABBREVIATIONS – US TERMINOLOGY
St: Stitch
Ch: Chain
Sc: Single Crochet
RS: Right side
WS: Wrong side
NOTES
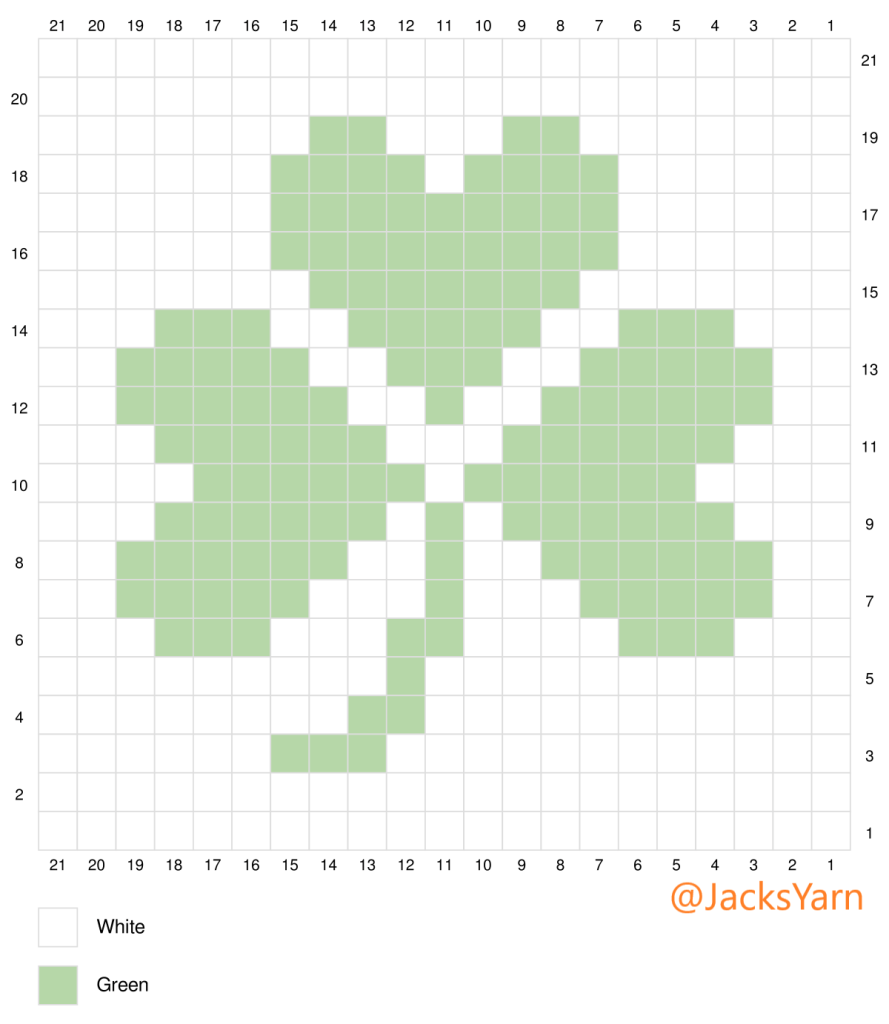
Arrows indicate the direction that you are crocheting, and each box on the chart represents a sc.
Chain 1 does not count as a stitch.
In this pattern A indicates Cream, and B indicates Teal.
In the written instructions the number of sc is indicated alongside the colour; for example (A) x 8 means 8 sc in Cream.
Written Instructions
← Row 1 [RS]: Chain 22, sc in second chain from the hook and each chain across (A) x 21. Ch 1, turn. (21)
→ Row 2 [WS]: (A) x 21. Ch 1, turn. (21)
← Row 3 [RS]: (A) x 12, (B) x 3, (A) x 6. Ch 1, turn. (21)
→ Row 4 [WS]: (A) x 8, (B) x 2, (A) x 11 . Ch 1, turn. (21)
← Row 5 [RS]: (A) x 11, (B) x 1, (A) x 9. Ch 1, turn. (21)
→ Row 6 [WS]: (A) x 3, (B) x 3, (A) x 3, (B) x 2, (A) x 4, (B) x 3, (A) x 3 . Ch 1, turn. (21)
← Row 7 [RS]: (A) x 2, (B) x 5, (A) x 3, (B) x 1, (A) x 3, (B) x 5, (A) x 2. Ch 1, turn. (21)
→ Row 8 [WS]: (A) x 2, (B) x 6, (A) x 2, (B) x 1, (A) x 2, (B) x 6, (A) x 2 . Ch 1, turn. (21)
← Row 9 [RS]: (A) x 3, (B) x 6, (A) x 1, (B) x 1, (A) x 1, (B) x 6, (A) x 3 . Ch 1, turn. (21)
→ Row 10 [WS]: (A) x 4, (B) x 6, (A) x 1, (B) x 6, (A) x 4 . Ch 1, turn. (21)
← Row 11 [RS]: (A) x 3, (B) x 6, (A) x 3, (B) x 6, (A) x 3 . Ch 1, turn. (21)
→ Row 12 [WS]: (A) x 2, (B) x 6, (A) x 2, (B) x 1, (A) x 2, (B) x 6, (A) x 2 . Ch 1, turn. (21)
← Row 13 [RS]: (A) x 2, (B) x 5, (A) x 2, (B) x 3, (A) x 2, (B) x 5, (A) x 2 . Ch 1, turn. (21)
→ Row 14 [WS]: (A) x 3, (B) x 3, (A) x 2, (B) x 5, (A) x 2, (B) x 3, (A) x 3 . Ch 1, turn. (21)
← Row 15 [RS]: (A) x 7, (B) x 7, (A) x 7. Ch 1, turn. (21)
→ Row 16 [WS]: (A) x 6, (B) x 9, (A) x 6. Ch 1, turn. (21)
← Row 17 [RS]: (A) x 6, (B) x 9, (A) x 6 . Ch 1, turn. (21)
→ Row 18 [WS]: (A) x 6, (B) x 4, (A) x 1, (B) x 4, (A) x 6. Ch 1, turn. (21)
← Row 19 [RS]: (A) x 7, (B) x 2, (A) x 3, (B) x 2, (A) x 7. Ch 1, turn. (21)
→ Row 20 [WS]: (A) x 21. Ch 1, turn. (21)
← Row 21 [RS]: (A) x 21, continue around each side of wall hanging to complete a row of sc all the way around the project to create a sc border.
Attaching to dowel:
These wall hangings were attached using sc method. The stitches are worked around the dowel into the top of the wall hanging.
- With the back of the project facing you, attach yarn to top corner of wall hanging and chain 1. Place the dowel along the top of the wall hanging, with yarn in front. Place hook through the same stitch with the ch1.
- With the hook behind the dowel, yarn over and pull the yarn through the stitch.
- With two loops on the hook, yarn over and pull through both loops on the hook.
- Insert your hook in the next stitch.
- With the hook behind the dowel, yarn over and pull through the stitch
- Yarn over and pull through both loops on hook. Continue across the top of the wall hanging
Chain to hang: Ch 5, sl st in 1st st to form a loop, ch 35, sl st in 5th st from hook to form a loop. Fasten off. (This will create a long chain for hanging the piece, if you would like a shorter chain, reduce the number of chains until it is the desired length.)
Thank you for checking out our Shamrock wall hanging pattern. The free PDF is available from Ravelry and it includes more detailed pictures for attaching the wooden dowel, adding the tassels, and creating the chain. You can find us on all the social media platforms as @Jacksyarn! See you soon and happy crocheting.

