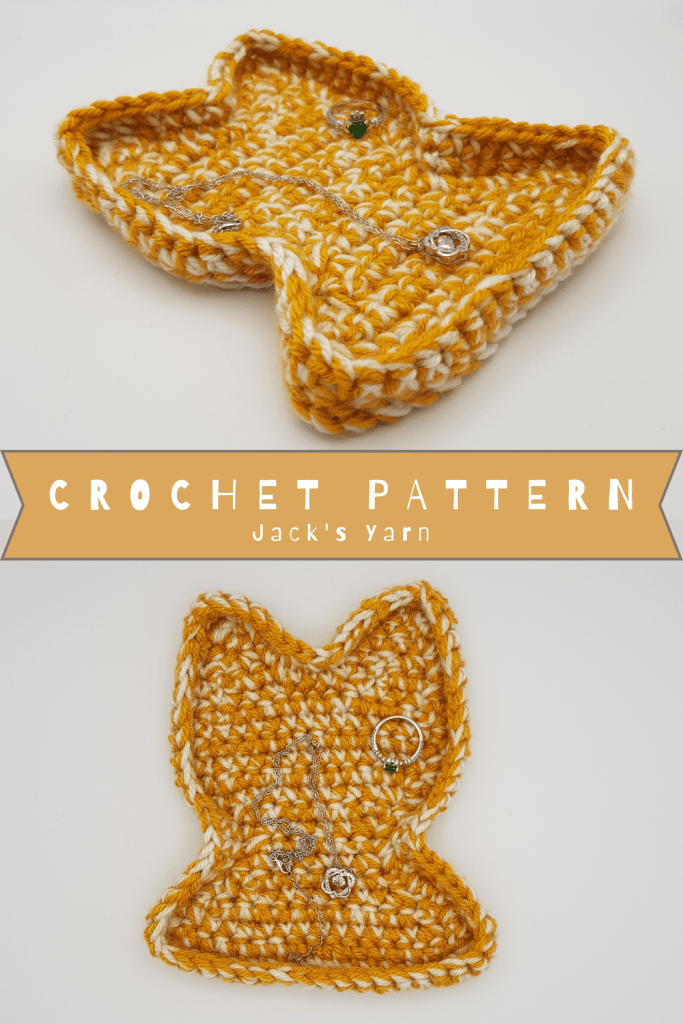
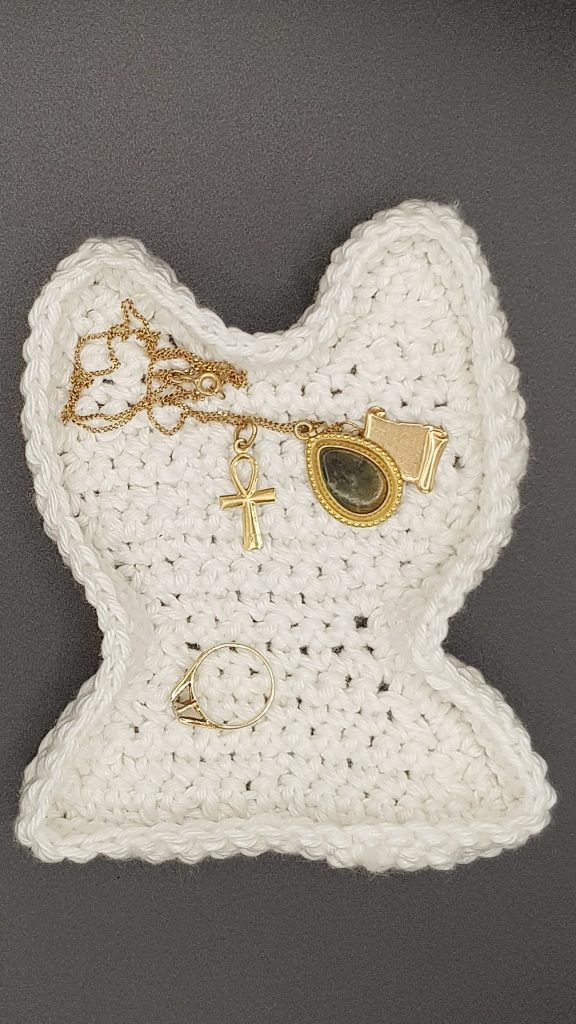
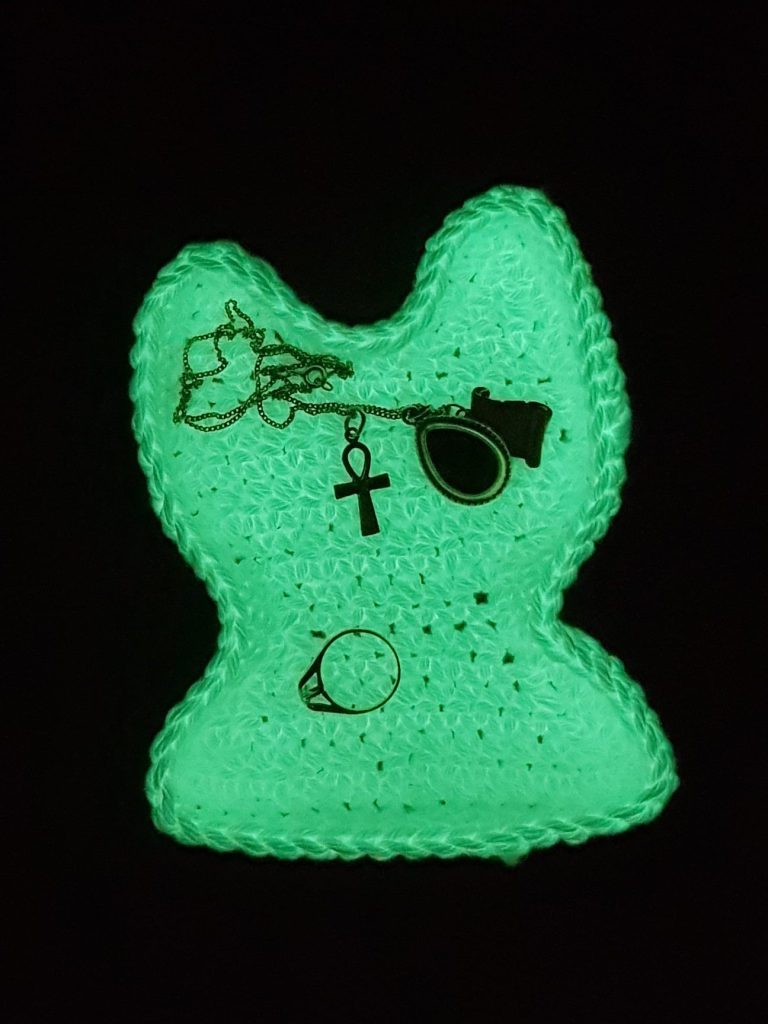
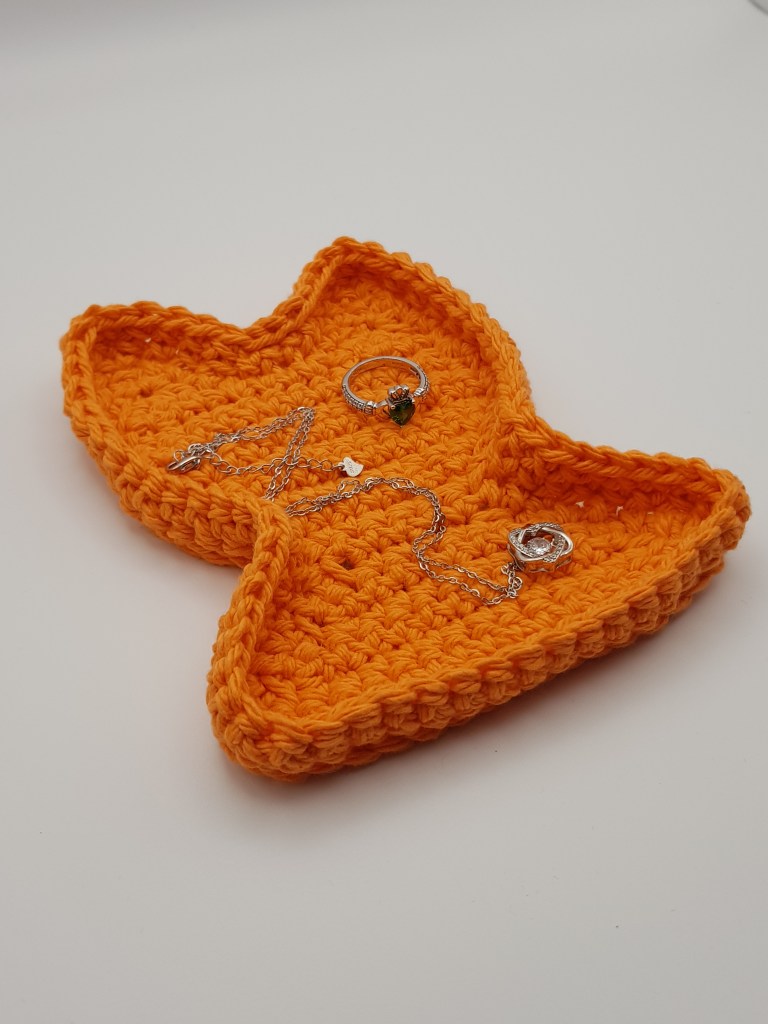
The Kitty Trinket Tray Crochet Pattern a delightful way to combine your love for crochet and cats into one adorable creation. This whimsical pattern will guide you through crafting a cat head-shaped trinket tray that’s a must-have creation that’s not only perfect for adding a feline touch to your own space but also an adorable addition to your inventory if you’re a crochet market seller. A free PDF download of this pattern is available on Ravelry!
Skill Level: beginner
MATERIALS
Hook: 4.5mm. This project is versatile you can use any hook size you would like, just note that this might change the size of the finished piece.
Yarn: This pattern will work well with Aran weight acrylic or cotton yarn. The trinket dish in the picture is Women’s Institute Aran Yarn (660m (722yds) per 400g skein; 100% Acrylic). I use this as I prefer the look and feel of acrylic yarn over cotton yarn!
Colours Required:
To make the dish in the main photo I used two strands of yarn held together (mustard & cream). This is not essential at all, but I liked the marbled look this creates. It also makes the dish a little sturdier if you are using acrylic yarn. If you choose to make the dish in cotton yarn, you won’t need to hold two strands of yarn together. The colours in this project can be changed to suit your needs.
FINISHED MEASUREMENTS
Approx 6” x 4.5”
ABBREVIATIONS – US TERMINOLOGY
CH: CHAIN
SC: SINGLE CROCHET
*DEC: DECREASE
**INC: INCREASE
FLO: FRONT LOOP ONLY
Chain 1 does not count as a stitch.
*DEC (sometimes referred to as SC2TOG) is as follows:
- Insert hook into the indicated stitch. Yarn over and pull up a loop.
- Insert hook into the next stitch. Yarn over and pull up a loop.
- Yarn over, pull through all 3 loops on the hook.
**INC is 2 SC in same stitch
WRITTEN INSTRUCTIONS
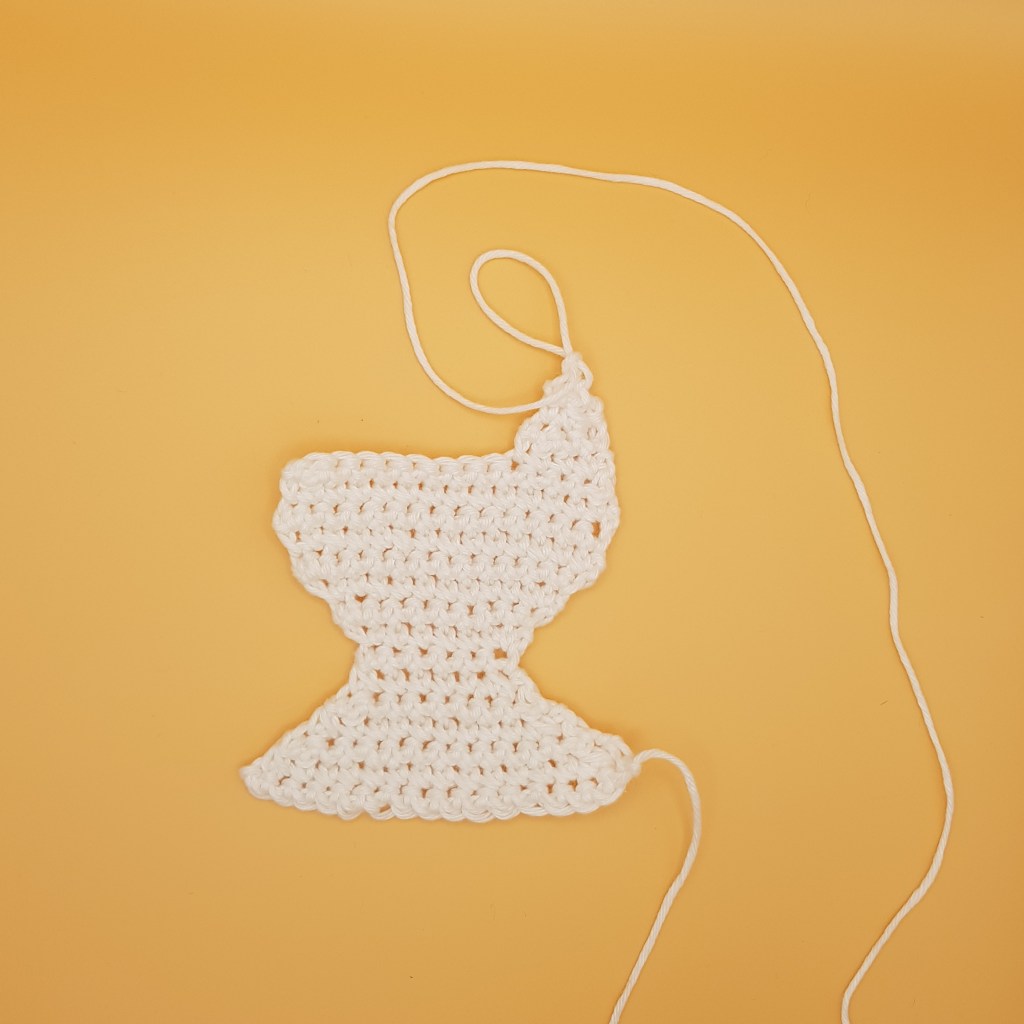
Row 1: Chain 17, SC in the second chain from hook and each chain across (16)
Row 2: Ch 1, turn. DEC, 12 SC, DEC (14)
Row 3: Ch 1, turn. DEC, 10 SC, DEC (12)
Row 4: Ch 1, turn. DEC, 8 SC, DEC (10)
Row 5: Ch 1, turn. DEC, 6 SC, DEC (8)
Row 6: Ch 1, turn. DEC, 4 SC, DEC (6)
Row 7: Ch 1, turn. 6 SC (6)
Row 8: Ch 1, turn. INC, 4 SC, INC (8)
Row 9: Ch 1, turn. INC, 6 SC, INC (10)
Row 10: Ch 1, turn. INC, 8 SC, INC (12)
Row 11: Ch 1, turn. INC, 10 SC, INC (14)
Row 12- 14: Ch 1, turn. 14 SC (14)
Row 15: Ch 1, turn. DEC, 10 SC, DEC (12)
Now working on making the ears at the top of the cat head.
Row 16: Right Ear: Ch 1, turn. 4 SC (4)
*Ch 1, turn. DEC, 2 SC. (3)
Ch 1, turn. DEC, 1 SC (2)
Ch 1, turn. DEC. (1)
Ch 1, turn. *
SC down the side of the ear (4), sl st in the next 4 stitches, 4 SC, repeat * to * in order to create the left ear.
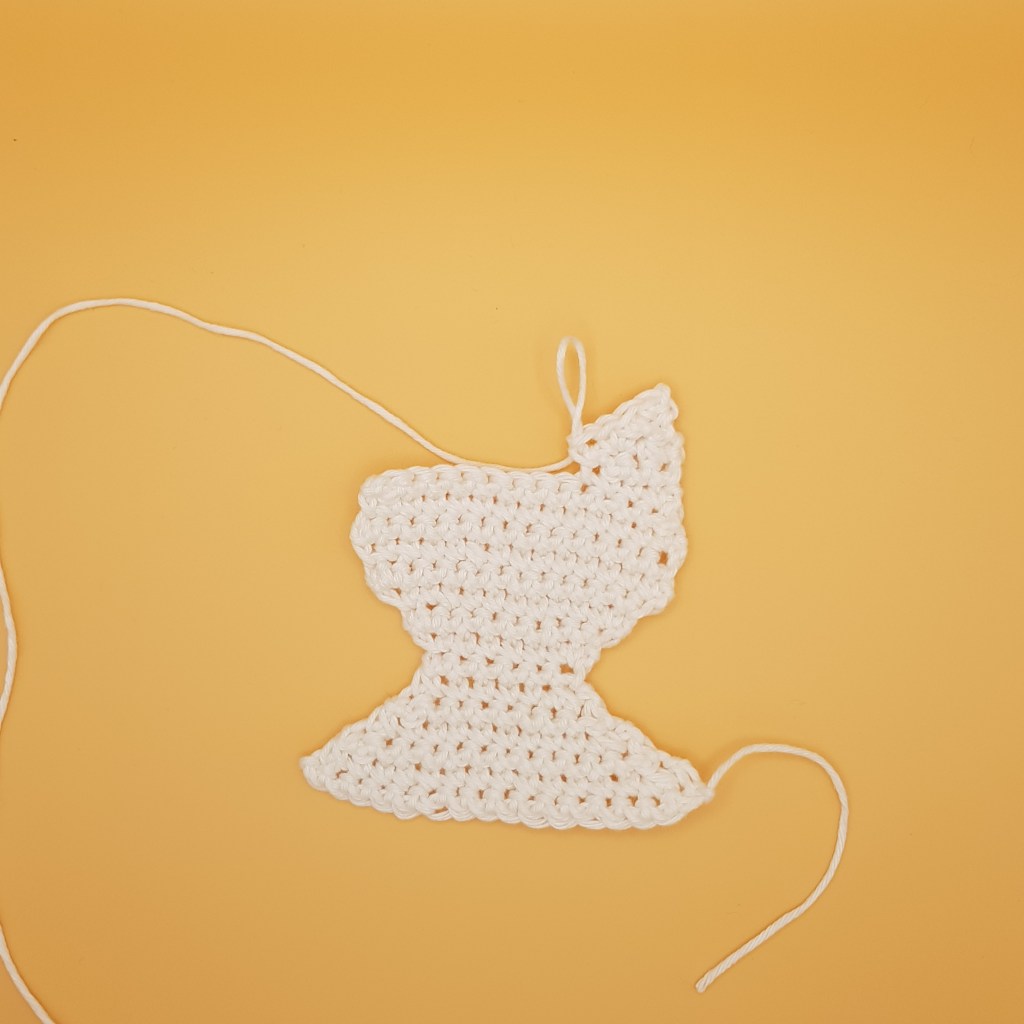

Row 17: SC down the side of the ear and all the way around the cat head, when reaching the top of the right ear (1 SC, ch 1, 1 SC) in same stitch to create a point, continue across and repeat at top of left ear (1 SC, ch 1, 1 SC), join with sl st to the first SC at the top of the left ear.
Row 18: Chain 1, do not turn, SC FLO in each stitch around, placing(1 SC FLO, ch 1, 1 SC FLO) in chain 1 space at top of ears, join with first SC of row.
Row 19: Chain 1, do not turn, SC in each stitch around, join with first SC of row.
Thank you for trying out this crochet pattern! We hope you enjoyed it and that it has inspired you to try more patterns in the future. If you’re looking for more crochet inspiration, be sure to follow us on our other social media channels. We regularly post new patterns, tips and tricks, and share the work of other crocheters. Whether you’re a beginner or an experienced crocheter, you’ll find something that you’ll love. So, don’t forget to join us on Instagram, Facebook, and Pinterest for more crochet fun!
