
So, I decided to embark on a new crochet adventure, and let me tell you, it’s been quite the journey! I’m talking about making my very first crochet temperature blanket. Now, if you’re scratching your head wondering what on earth a temperature blanket is, don’t worry, I’ve got you covered.
A temperature blanket is a unique and creative way to document the weather throughout the year using crochet. Essentially, each row or square represents a day, and the color of the yarn is chosen based on the temperature for that day. It’s like creating a visual diary of the weather patterns over time, all while crafting something cozy and beautiful.
Now, let me walk you through my process step by step. First things first, I had to decide on the type of blanket I wanted to make. After some browsing and pondering, I settled on using a Little Cat Square pattern that I wrote, it’s available free on this blog and YouTube. Cats and crochet? Count me in!
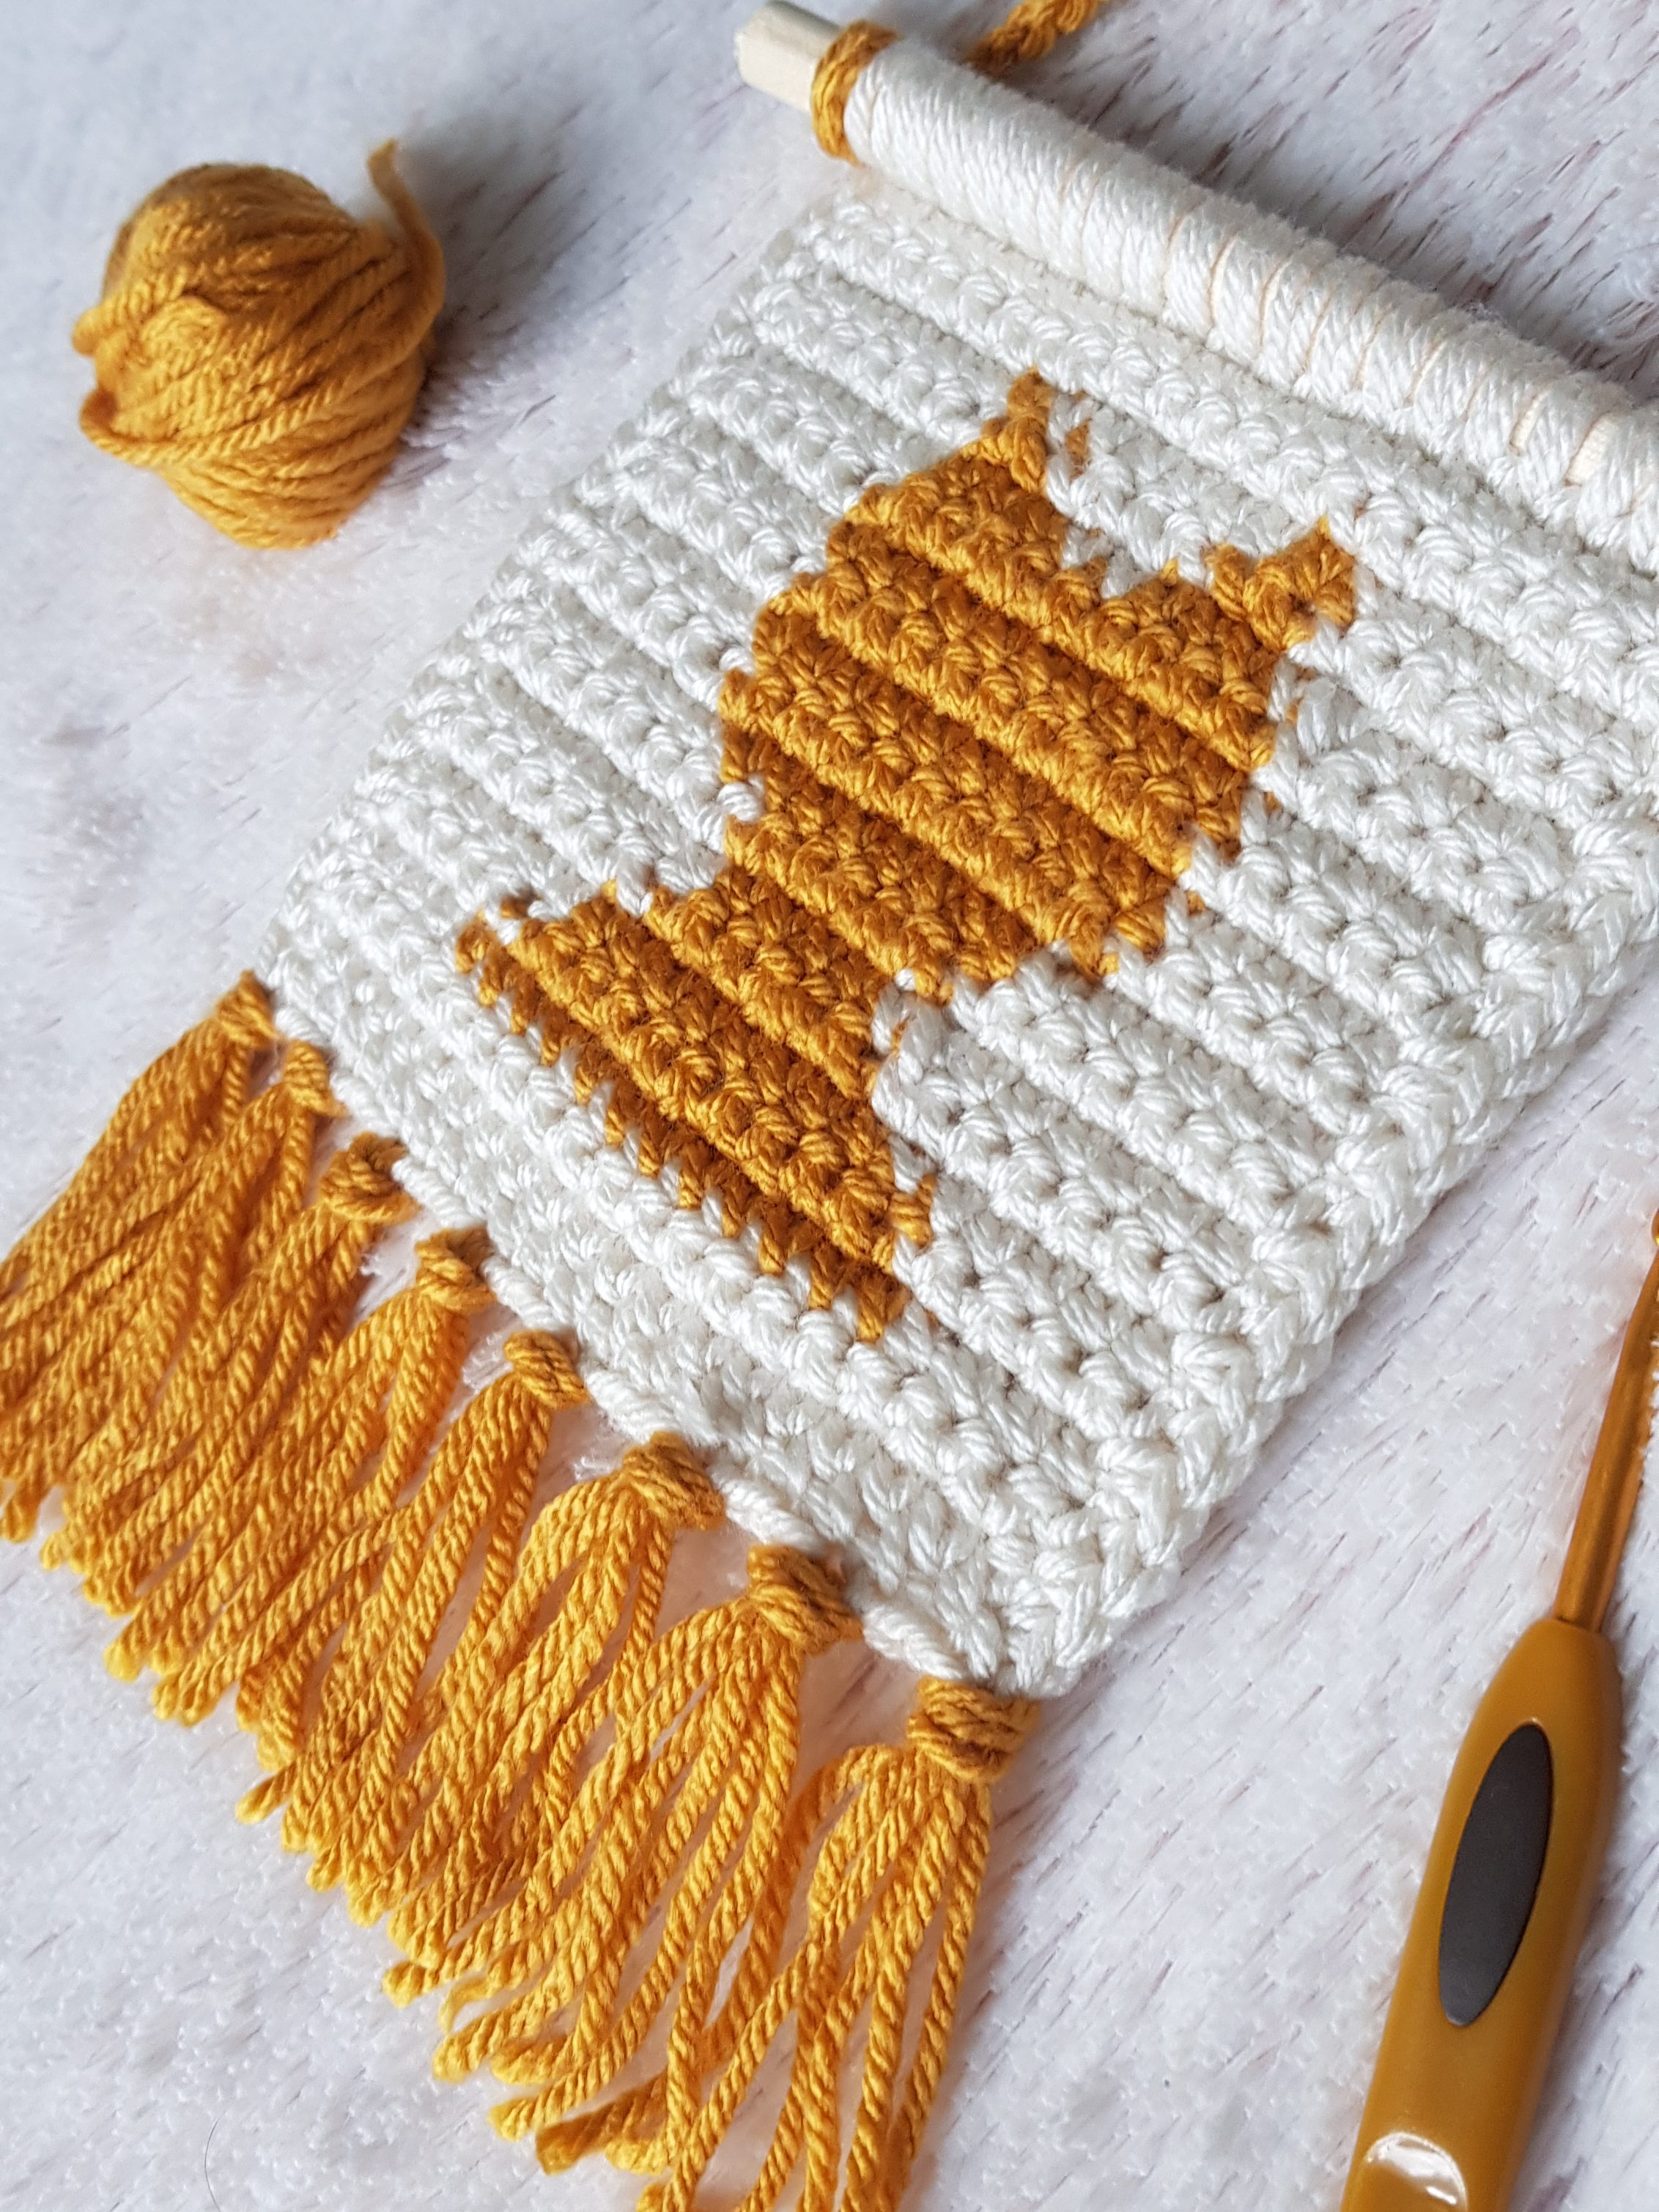
The cat section of each square consists of 15 rows, which I calculated to cover approximately 14 days of weather data (the 15th row is just 1 sc at the top of the ears, I figured it would be too small to see the detail of that days weather, so I am just doing day 14 on that row too). This will make approx. 26 squares to join together at the end (hoping I remember to weave my ends as I go!) And hey, who doesn’t love a little feline flair in their blanket?
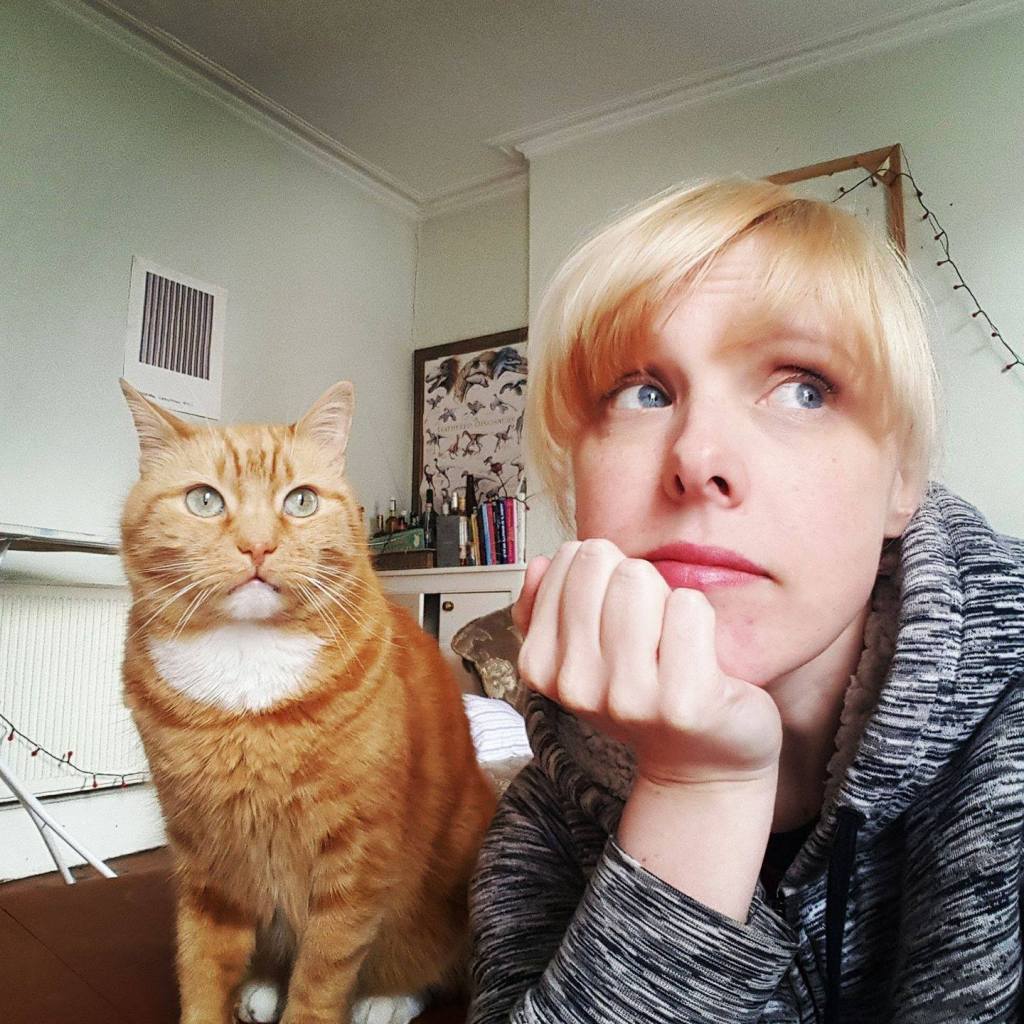
Next up, I had to choose the year for my blanket. I decided to go with 2007 because that’s the year my beloved cat, Jack, came into my life. This blanket is not only a creative project but also a tribute to him and the memories we shared.
Now, onto the nitty-gritty of gathering weather data. I opted to use the average high temperature for each day, and thanks to the wonders of the internet, I was able to find the stats from the closest weather station to where I lived in Dublin at that time on the Met Éireann website.
With the weather data sorted, it was time to pick out the yarn colors. Now, I’ll admit, I’m not the most confident when it comes to choosing color schemes, so I decided to play it safe and went for an Attic 24 kit from Wool Warehouse. The colors are absolutely stunning, and knowing they go well together took a load off my mind.
After that, it was all about getting my supplies ready. I invested in a small wooden shade card from The Wood Store on Etsy, which helped me plan out the yarn colors and assign them to each temperature range. This way, I always know which color I’m meant to be using, and it keeps me organized and on track.

And of course, I made sure to stock up on hooks and keep my yarn stash within arm’s reach for easy access. Because let’s face it, there’s nothing worse than having to hunt down supplies in the middle of a crafting session!
Lastly, I made the decision to spread out the blanket-making process throughout the year. Sure, I could have whipped it up all at once, but where’s the fun in that? I wanted the full temperature blanket experience, complete with the challenge of staying motivated over the course of the year. Plus, it adds a bit of historical charm to the project, don’t you think?
So there you have it, my journey so far in making my first crochet temperature blanket. It’s been a labor of love, but I can’t wait to see the finished product and reminisce about the weather patterns of 2007 with every snuggle session. Until next time, happy crafting!
